MXCuBE-Web
MXCuBE3
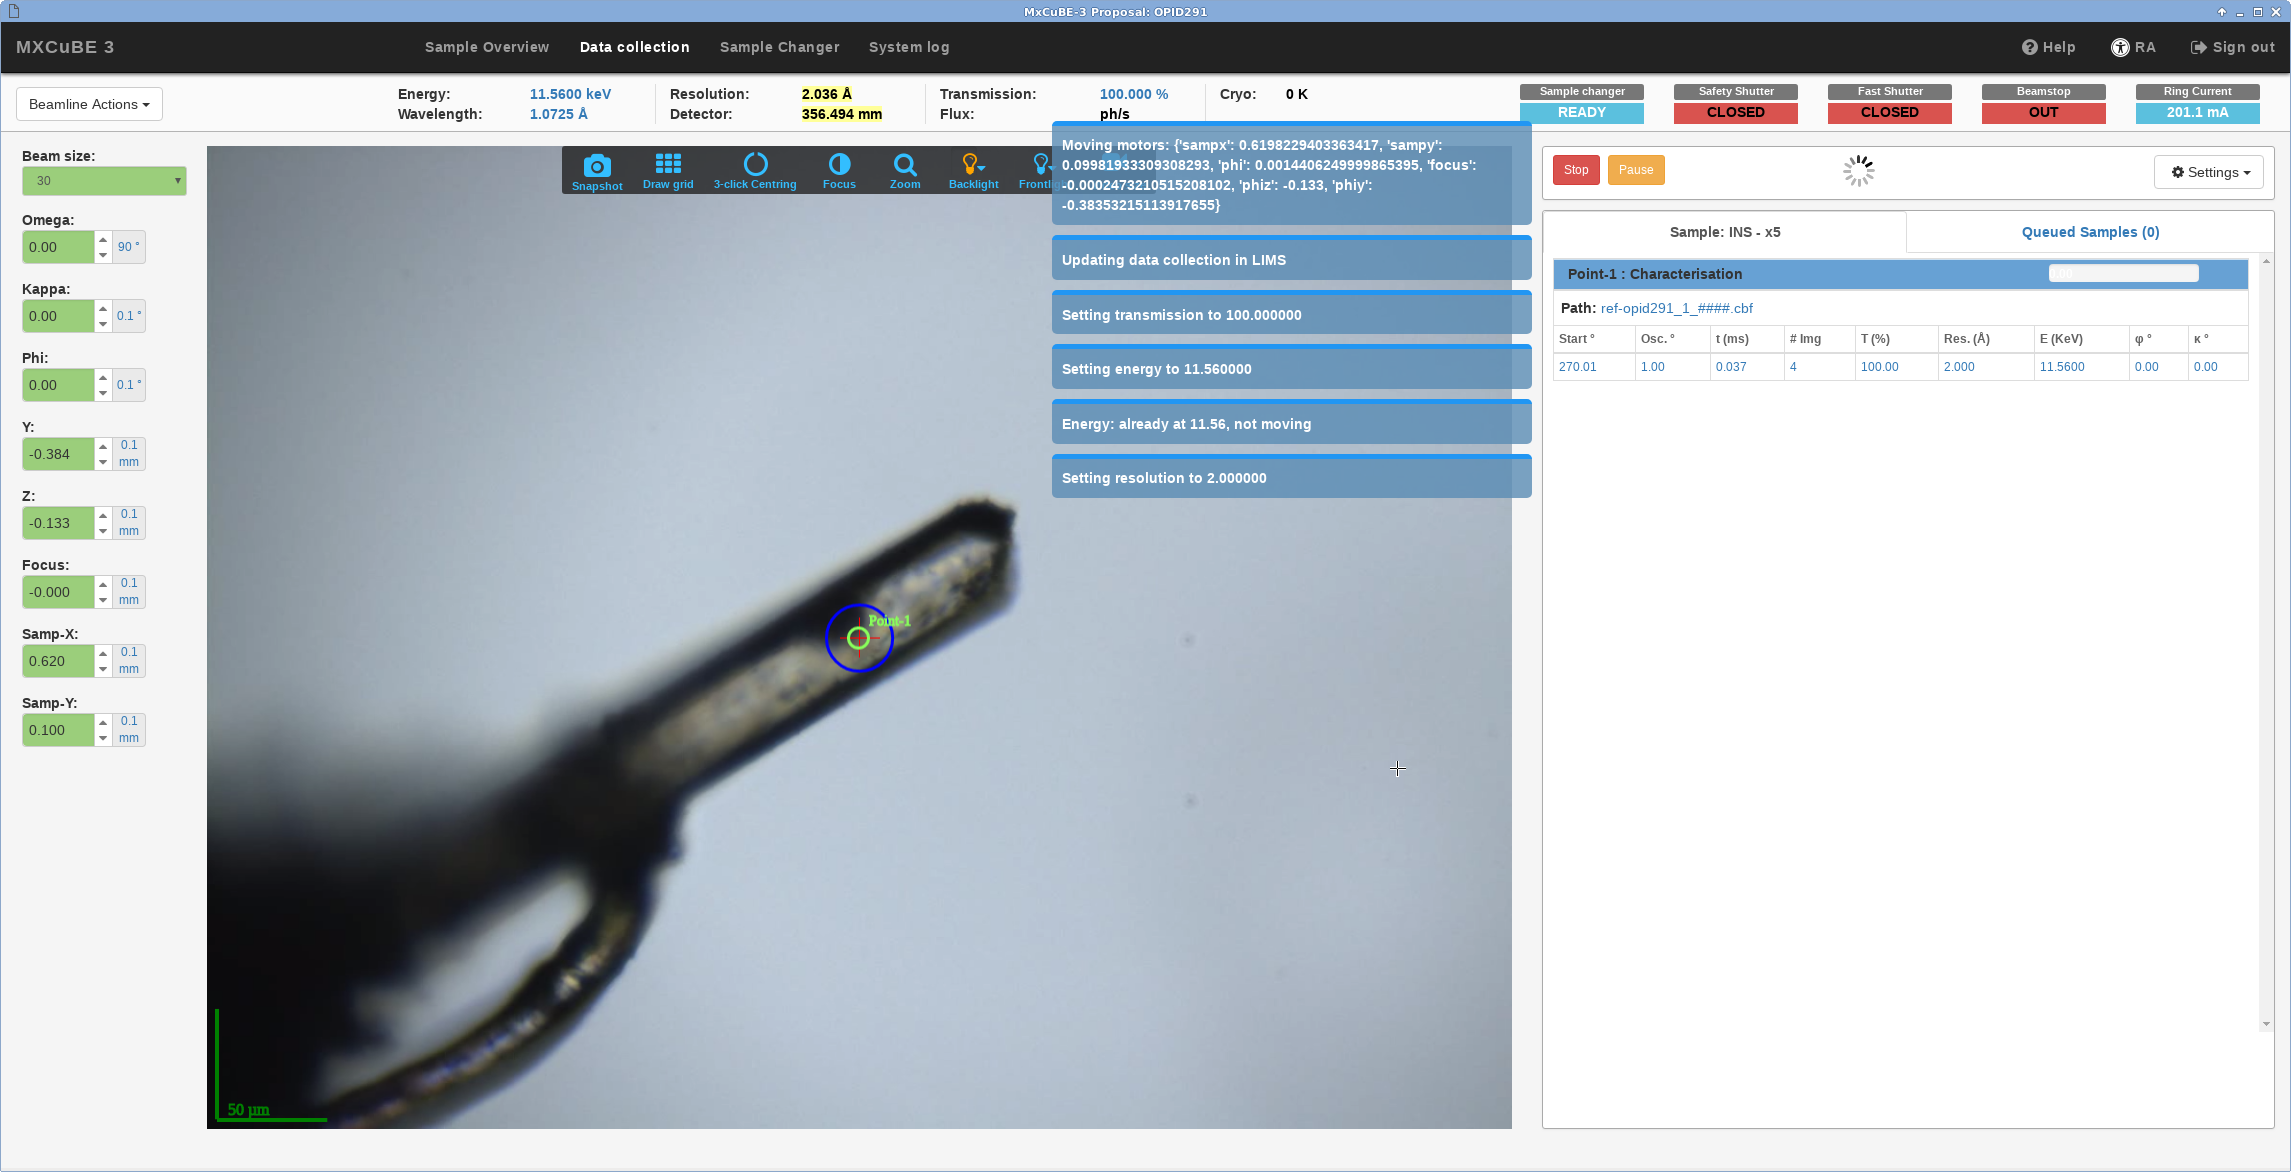
MXCuBE3 is the latest version of the Beamline control software for MX experiment. It is developed as a web application and runs in any recent browser. More information on the MXCuBE3 project and the open source code is available on github.
MXCuBE3 for remote access runs directly in any internet browser. This has different advantages. In particular it removes the need to install and configure any additional software and it can fit in any screen size, since the MXCuBE3 window will scale accordingly, as a normal web page.
For our development and tests we use Google Chrome, hence we recommend to use a recent (or better the latest) version of Chrome to perform the experiments, on any operative system.
Access to MXCuBE3
MXCuBE3 is installed on all ESRF MX Beamlines. A preliminary version of the MXCuBE3 manual is available.
Remote access is done via the MXCuBE3 portal is https://mxcube3.esrf.fr. This page also contains some tutorials and video demo of MXCuBE3 in action. Some additional videos are available here:
MXCuBE3 - Sample mounting and data collection
MXCuBE3 - Interleaved, Inverse beam
Remote Access with MXCuBE3
Since MXCuBE3 is a web application it does not require anymore NX-Client to access the beamline. Point Chrome to https://mxcube3.esrf.fr
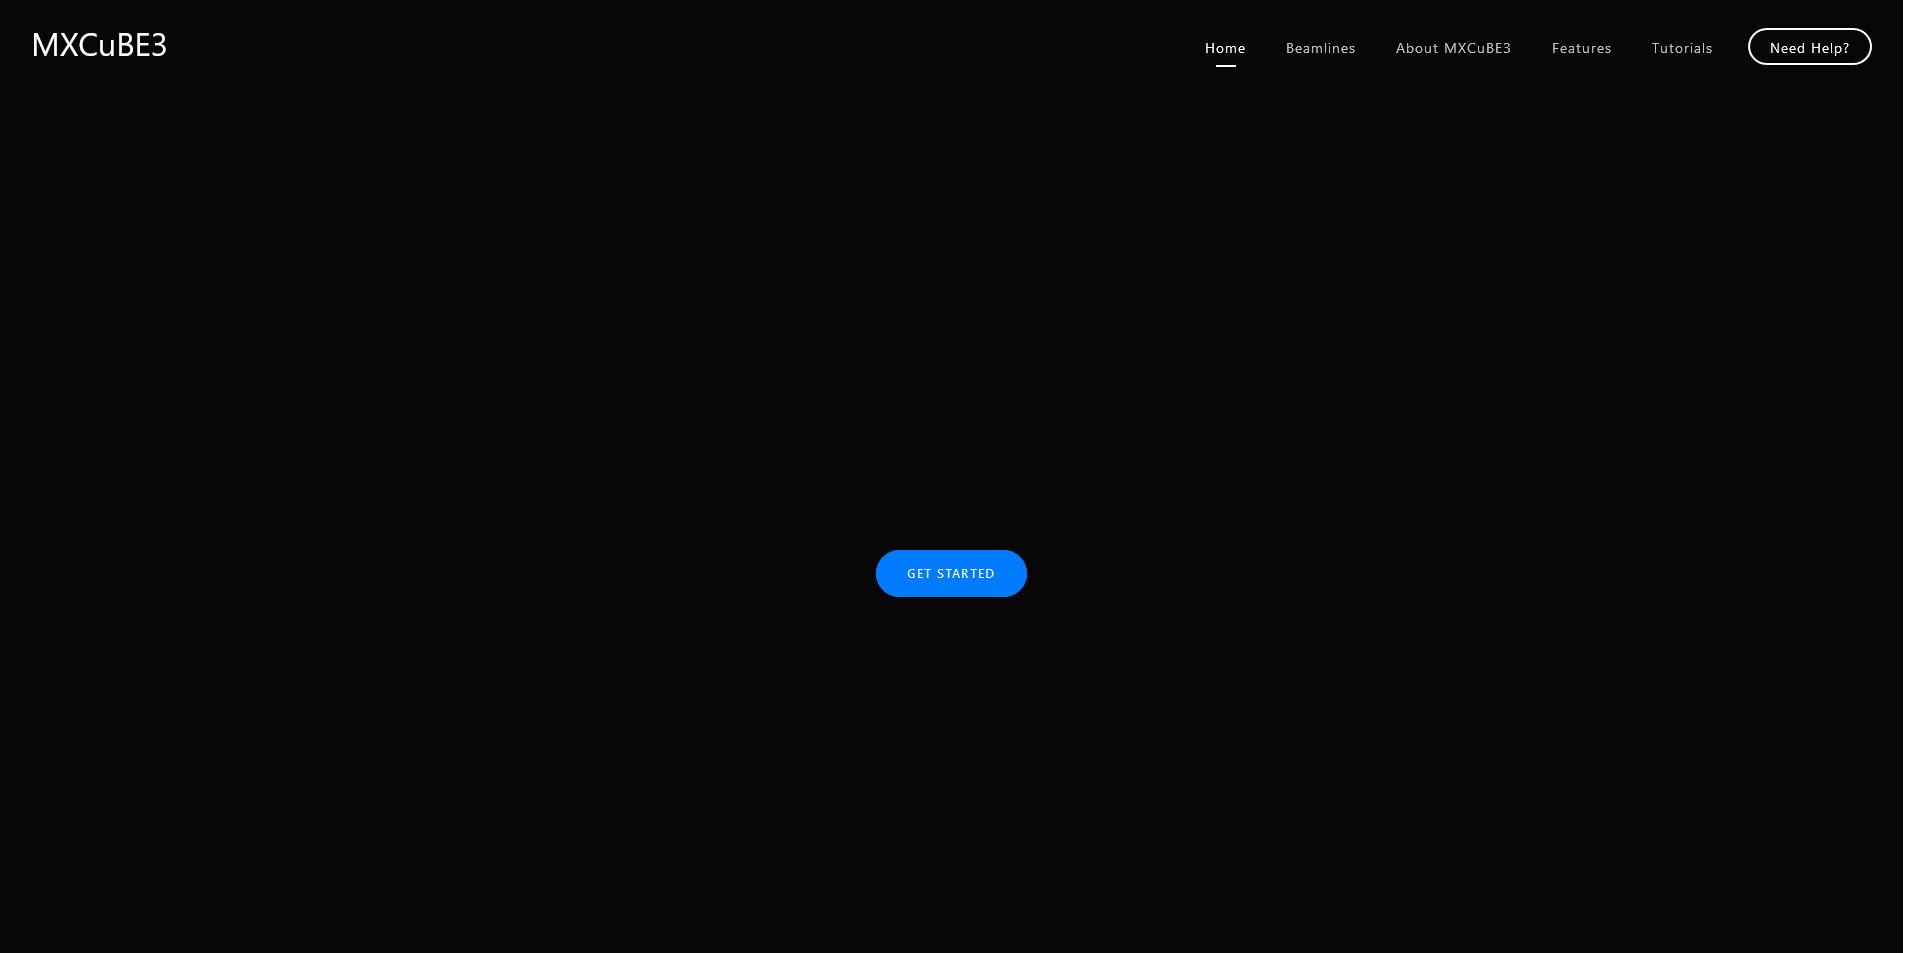
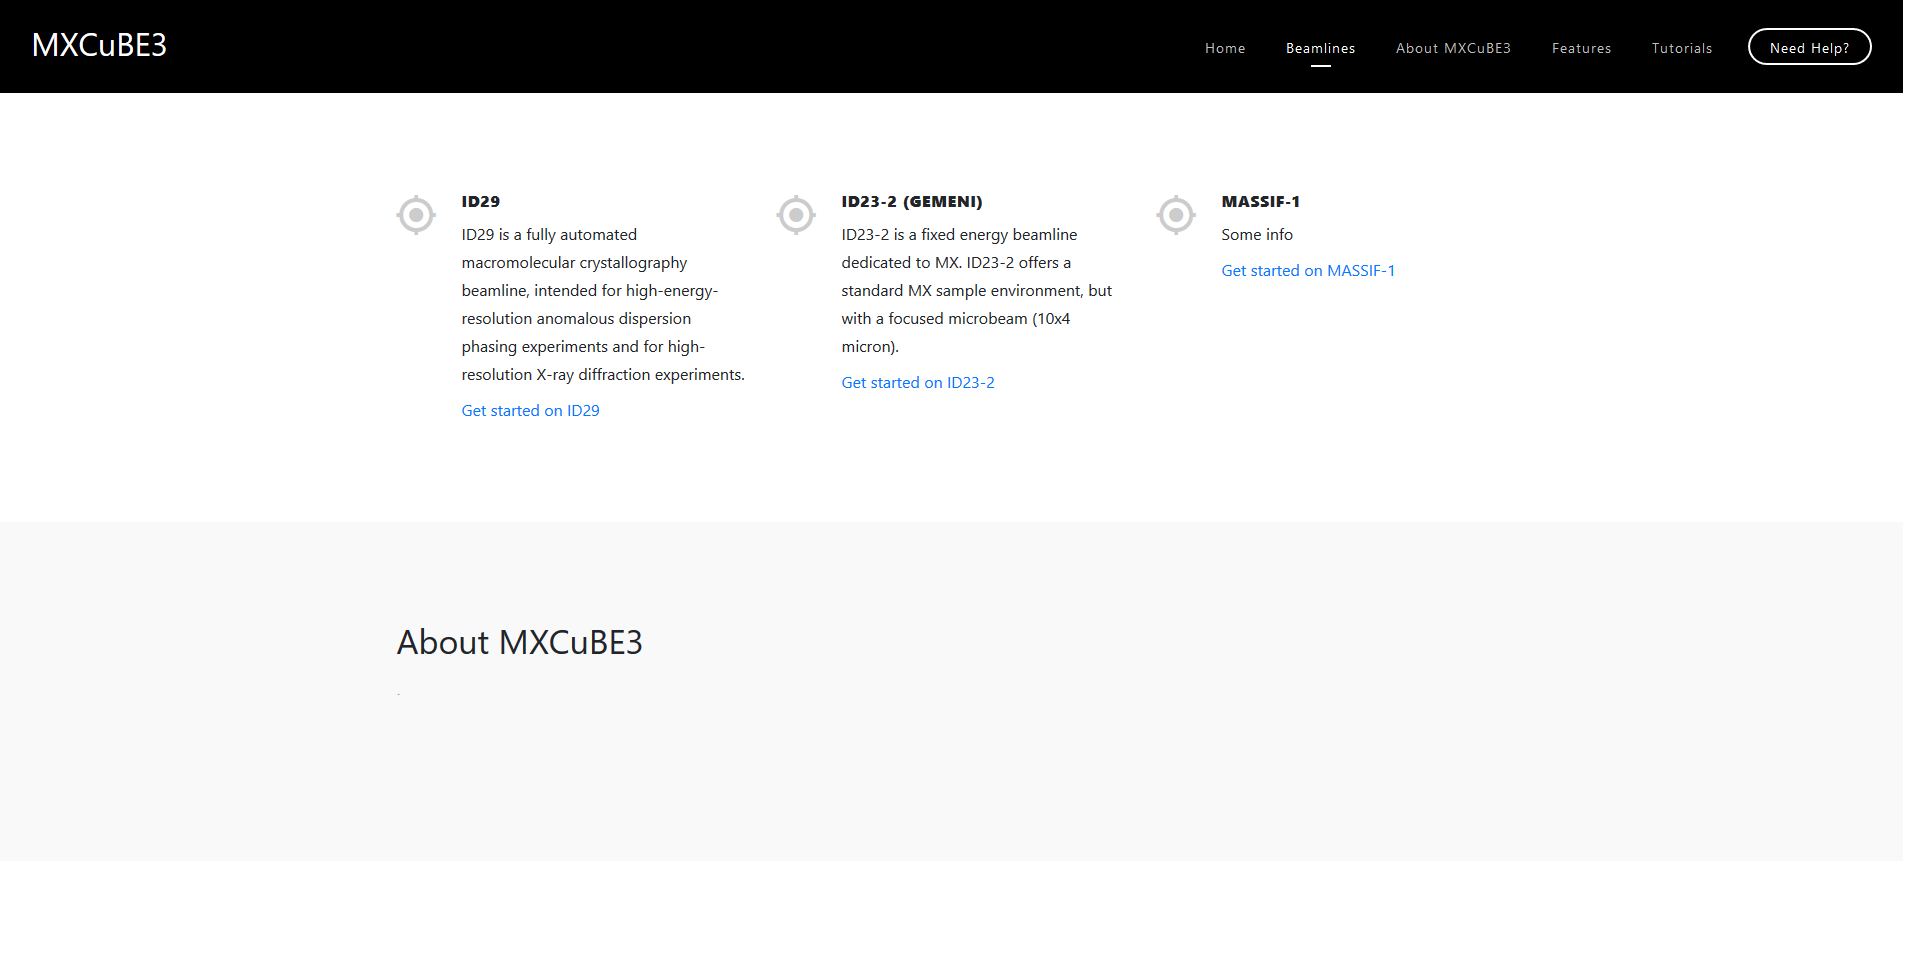
Click on GET STARTED and select the beamline you need to access.
It is also possible to access directly the beamline by using the beamline URLs: https://id231.mxcube3.esrf.fr, https://id232.mxcube3.esrf.fr, https://id30b.mxcube3.esrf.fr, https://id30a3.mxcube3.esrf.fr).
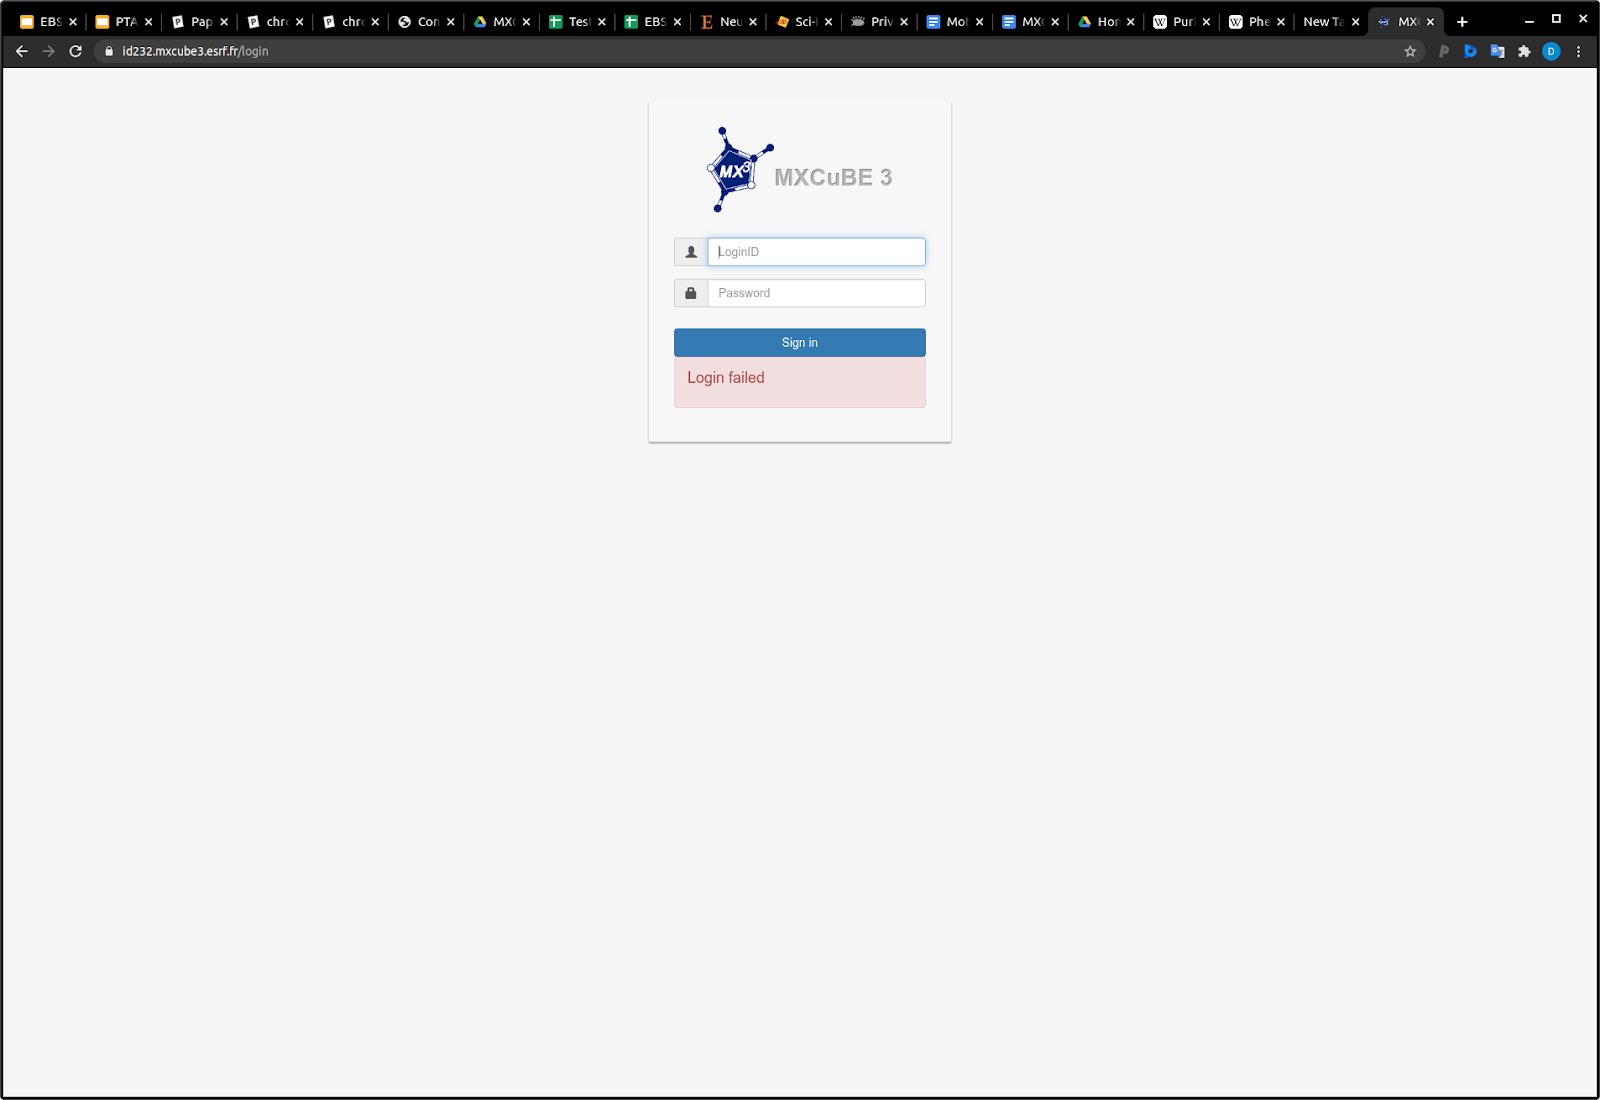
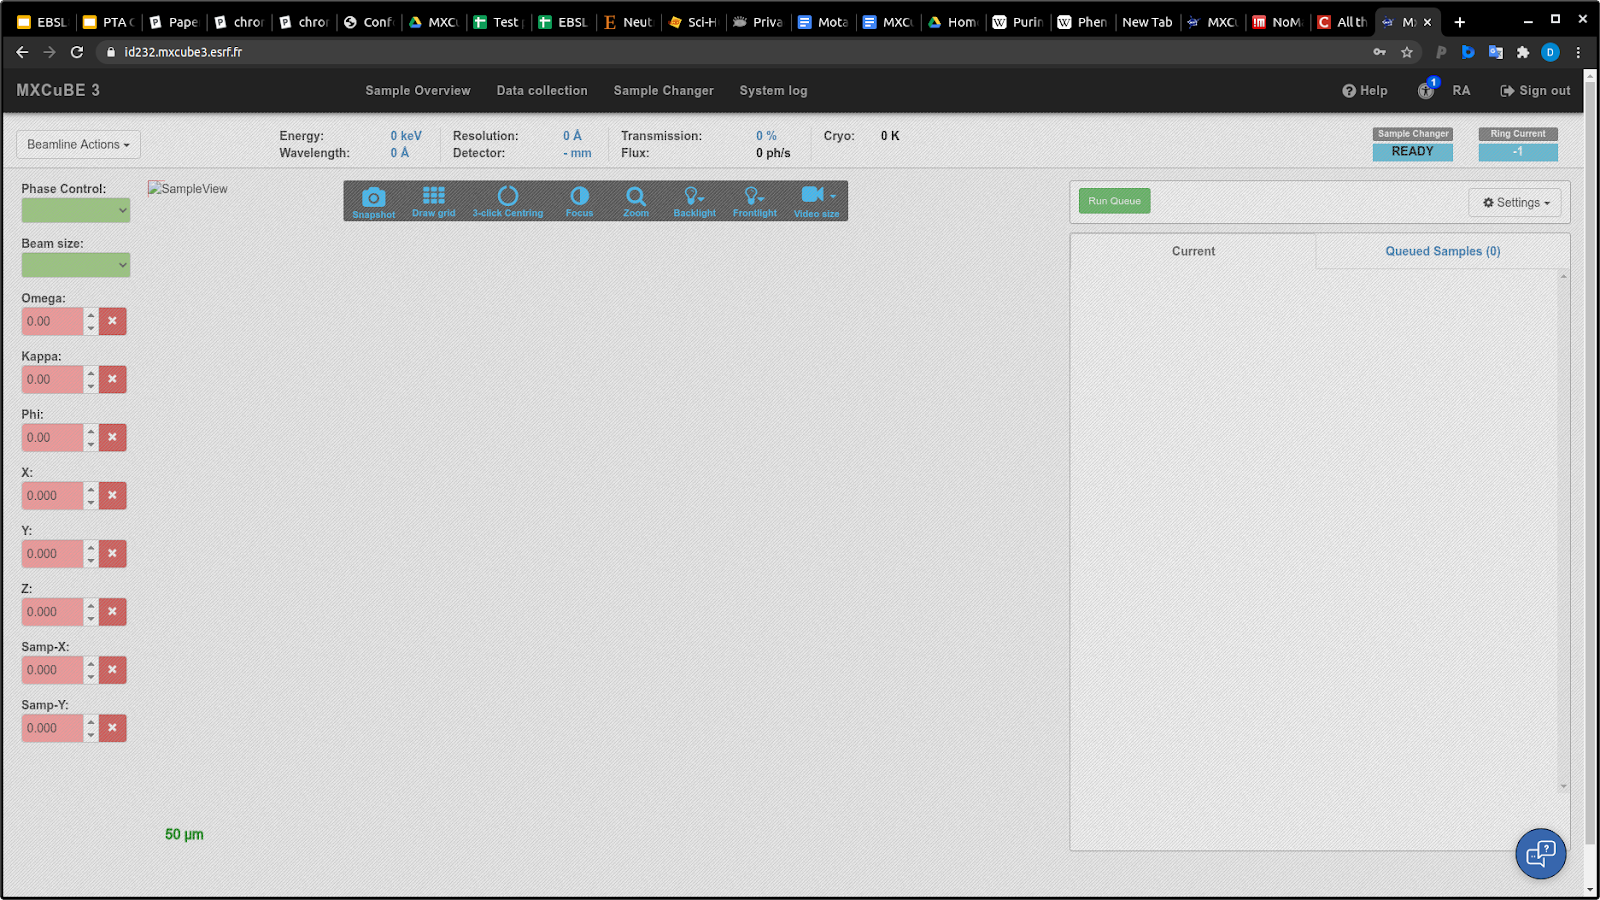
Login with the proposal number (ex. mx1234, ix00). Login access is done as Observer. The video is partially greyed out and no action can be performed on the beamline.
N.B. you can login only if a scheduled experiment exists and if the local session has authorised your login.
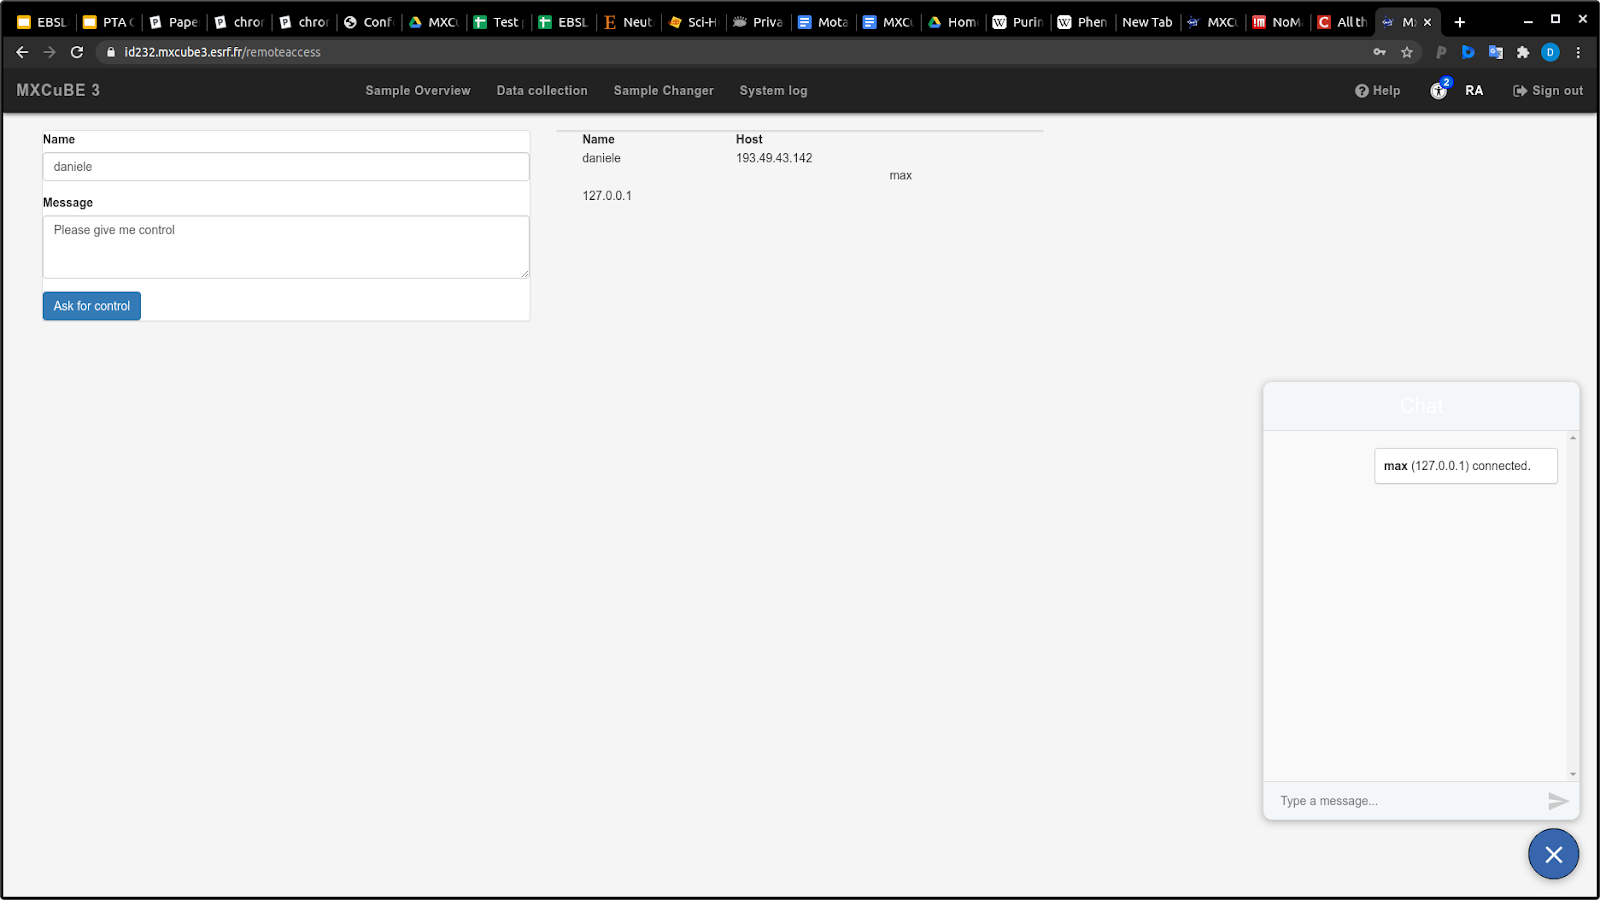
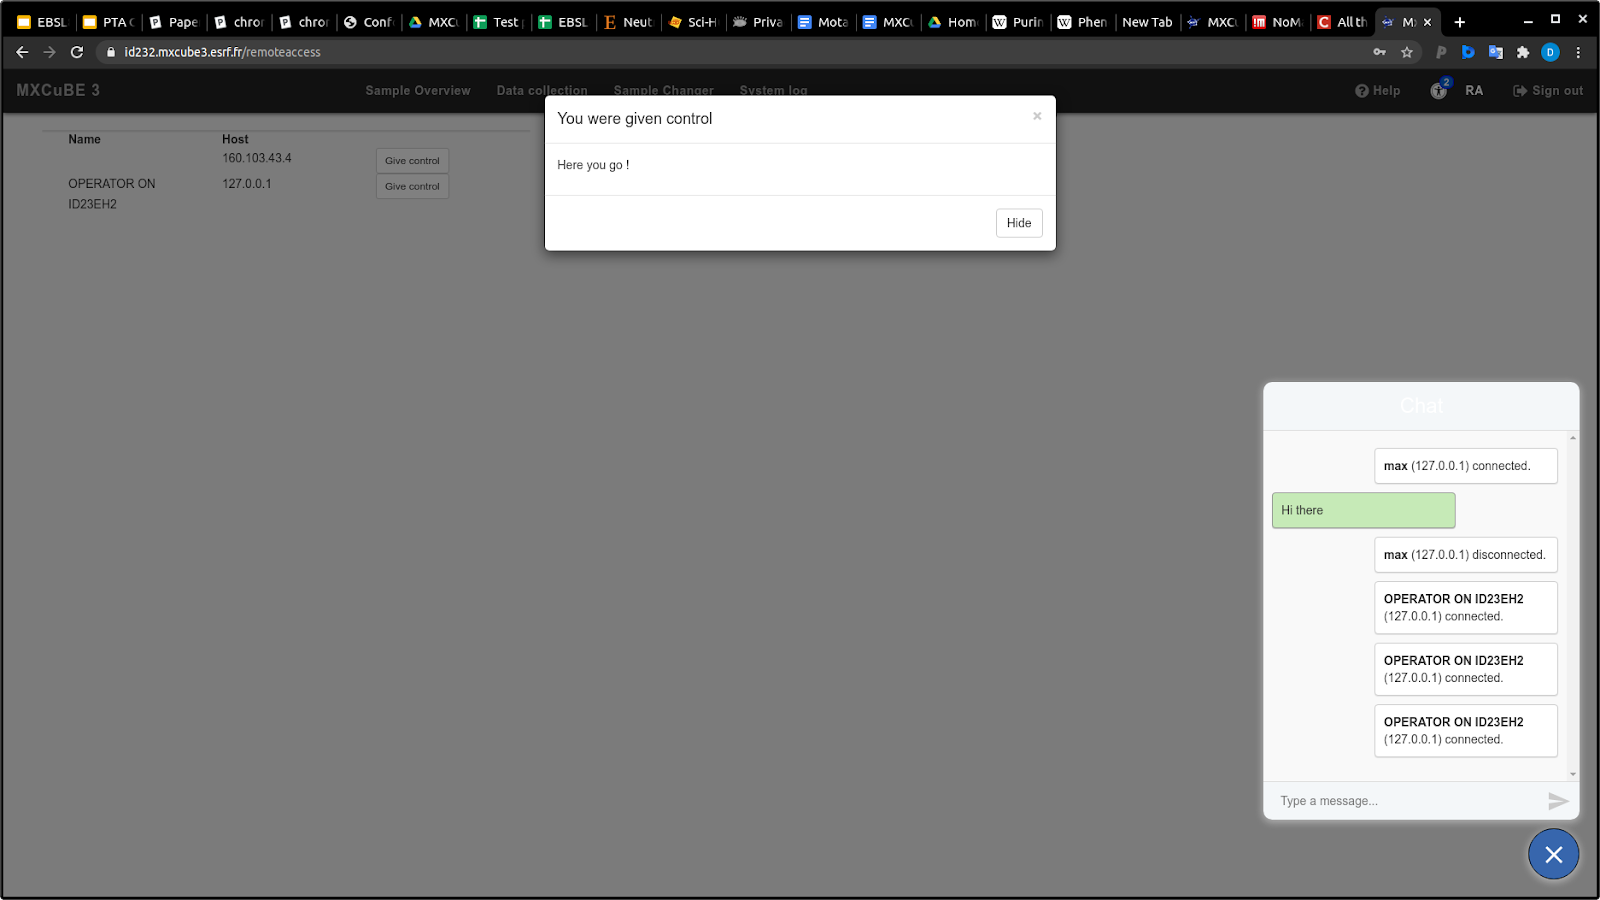
In the Remote (Access) menu it is possible to see who the other connected users are, chat with them and ask for control to the local session. The chat box is available on any tab and displays a badge when there is a new message. It is also possible to swap control between connected remote users.
Visualising diffraction images
Use Braggy, the new Web based diffraction image viewer https://www.esrf.fr/braggy
Visualising hutch camera and manual processing
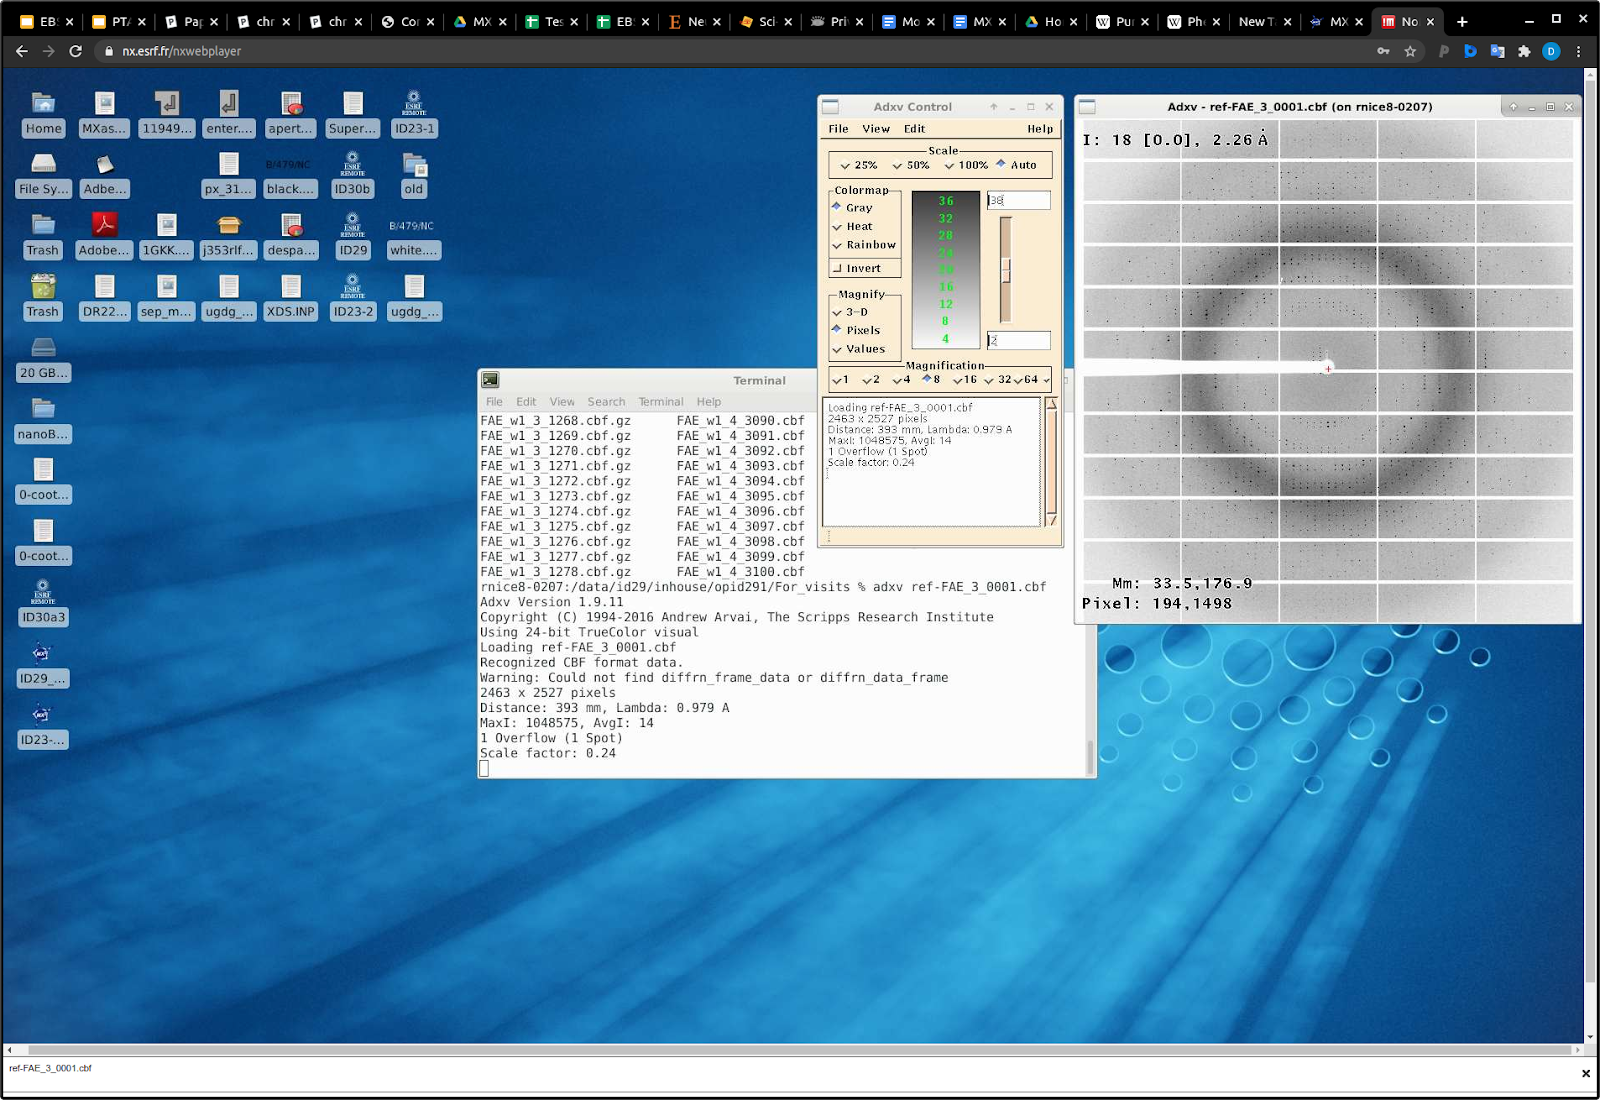
Diffraction images can be visualised using either EXI, the new ISPyB interface, (https://exi.esrf.fr) or dedicated software (adxv, albula, ...) via NX. The easiest way is to use the web client.
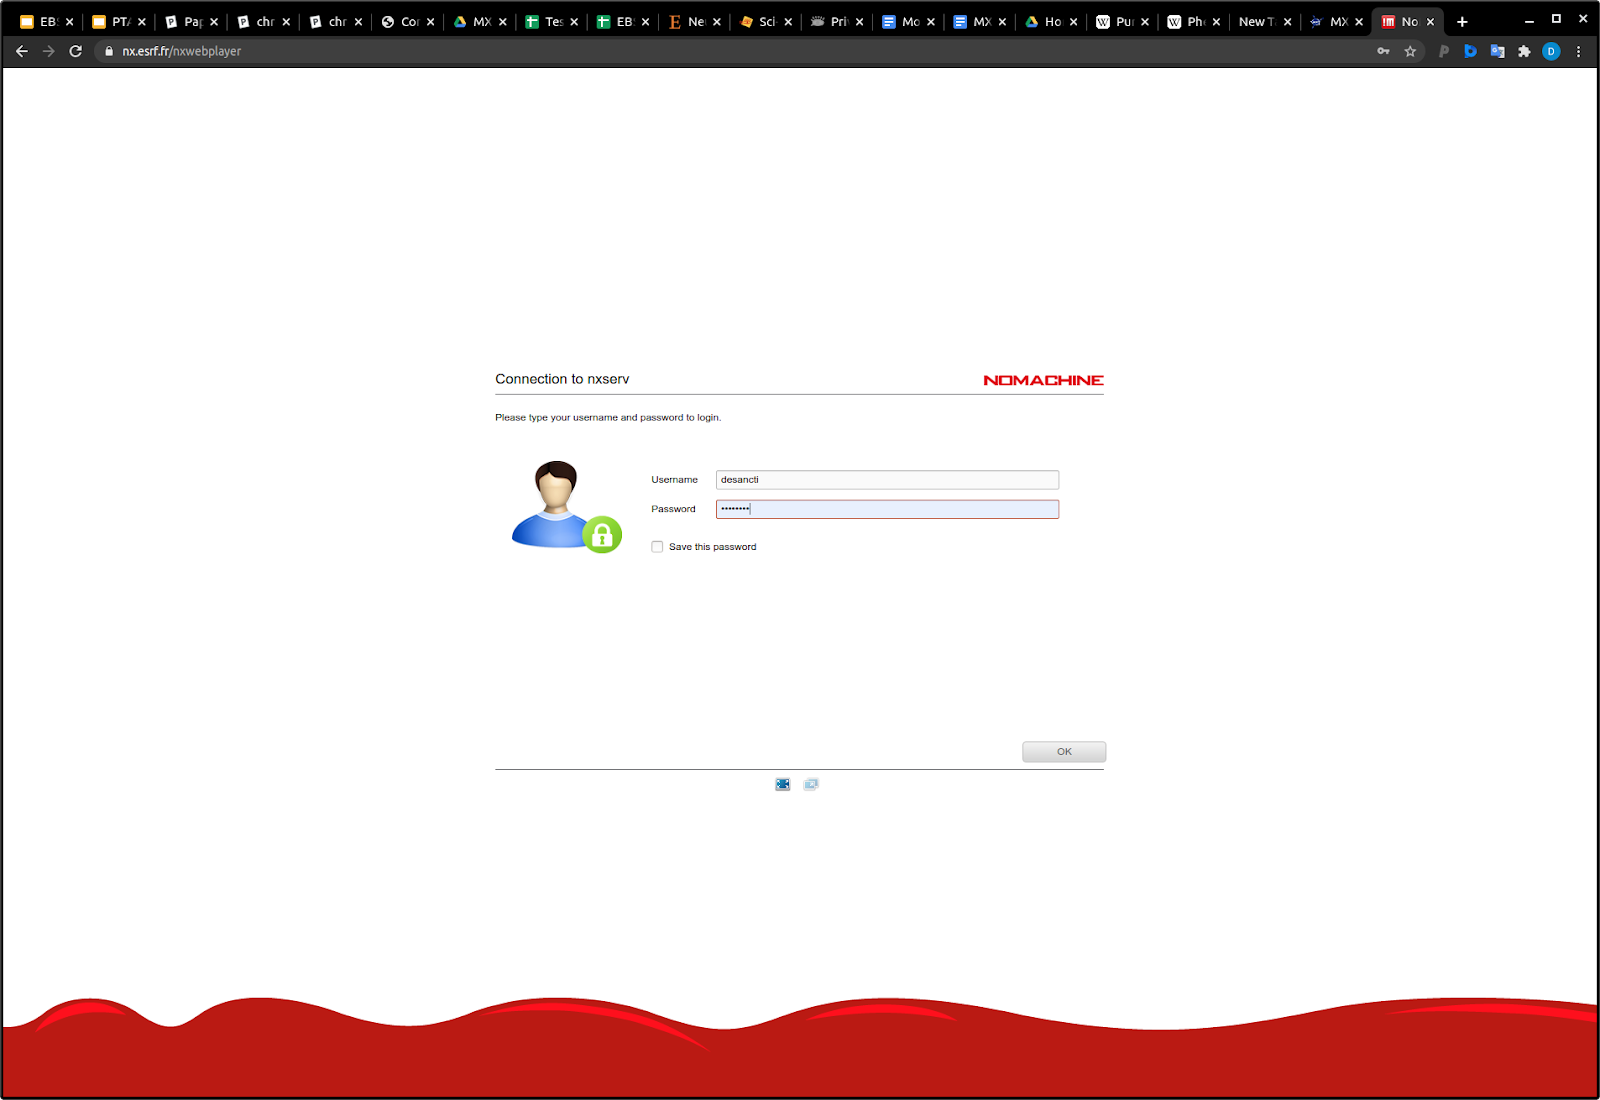
Open a new tab in Google Chrome and point it to the URL nx.esrf.fr or to remote.esrf.fr. After login with the experiment number, click on "Select automatically a node" to use a machine with lowest load. On the desktop click on the icon corresponding to the beamline. This automatically opens adxv or albula, to visualise the diffraction images, a browser with hutch camera view and a terminal on the processing cluster for manual processing and a terminal on the control PC, where the MXCuBE3 server is running.
N.B. in some cases constantly visualising the hutch cameras may occupy too much bandwidth and deteriorate the remote access performances.
Docker Image
It is possible to install and run MXCuBE3 locally on your machine for testing or learning purpose. A docker image is available here https://hub.docker.com/r/oscarsso/mxcube3
partners


European Synchrotron Radiation Facility - 71, avenue des Martyrs, CS 40220, 38043 Grenoble Cedex 9, France.